
12 Oct
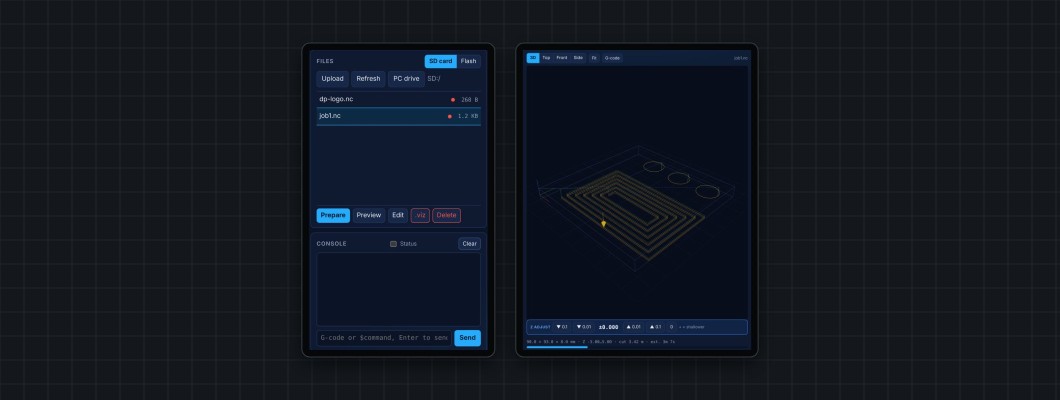
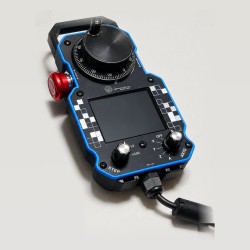
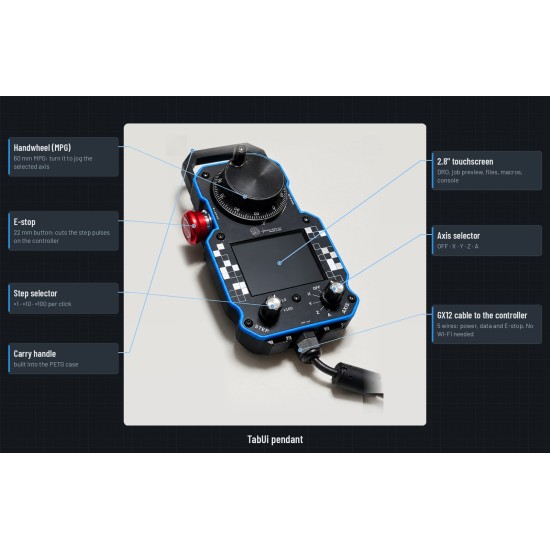
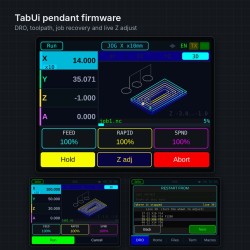
The board shares its SD card on your network at http://<board-ip>/sd. Map it once and copy G-code onto it like a USB stick. Pendant previews (.viz) are built automatically for every G-code file you copy.

Windows: the easy way
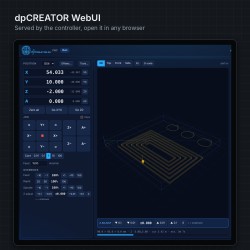
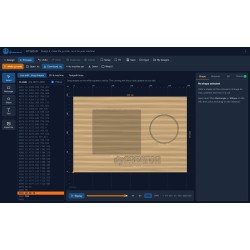
- In the WebUI Files panel click PC drive. It downloads a setup script with your board's IP filled in.
- Double-click it (don't use "Run as administrator"). If Windows warns, click More info → Run anyway.
- Answer Yes on the one admin prompt. The SD card appears as drive S: named dpCREATOR SD and reconnects at every sign-in.
Run the script again if the board's IP changes. To remove everything: dpcreator-sd-drive.cmd remove.
macOS and Linux
- macOS: Finder → Go → Connect to Server →
http://<board-ip>/sd - Linux: your file manager with
dav://<board-ip>/sd, or davfs2
Tips
- Give the board a fixed IP so the drive keeps working after a reboot.
- Typing
\\<board-ip>in Explorer gives an error — the board has no Windows file sharing (SMB). Use the S: drive. - Don't copy big files while a job runs from the SD card; the job has priority.
- Leave the
.vizfiles next to your G-code — the pendant uses them.