
Prefer to watch? See the WebUI video tutorials, starting with Centre Finder.
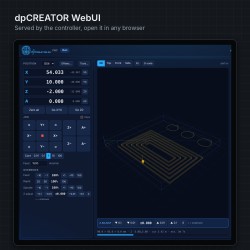
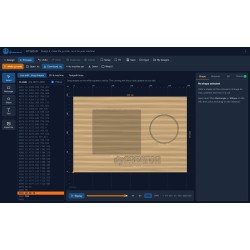
The dpCREATOR WebUI is the control page served by the controller itself. Open the board's address in a browser on a PC, tablet or phone (for example http://fluidnc.local). It shows where the machine is, the job in 3D while it runs, the part it makes, and the laser's burn. This page explains the position panel, the 3D view and the laser features. Files, job recovery, Z adjust and the pendant have their own articles.
Runs G-code from any CAM with a GRBL post-processor: Fusion, VCarve and Aspire, Carbide Create, Easel, Estlcam, LightBurn and more. (Product names are trademarks of their respective owners.)

Position

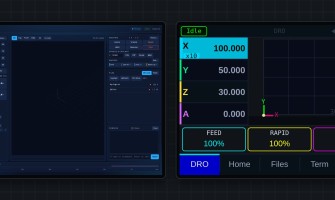
- Work and Machine: the big numbers are the work position, the coordinates of your job. The small ones are the machine position, counted from the homing position.
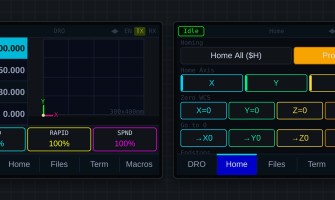
- Not homed · Home: this chip shows while an axis that has homing switches has not homed since power-up or a reset. Click it to home. Machine positions only mean where on the bed after homing; work positions are always right. Unlock does not count as homing.
- Zero an axis by holding it: hold an axis row, or its X0 / Y0 / Z0 button, for about a second. A short tap does nothing, so a stray click can't move your work zero. Zero all works the same way.
- Tool: the bit in the spindle (from the tool table), or T2 Laser when the laser is selected (see Router and laser on one machine).
Probe Z0
Probe Z0 (under the position) sets the work Z zero with a touch plate or a 3D probe:

- Put the probe a few millimetres above the part.
- Test it: push the stylus, or touch the plate to the bit. The light turns green.
- Enter the plate thickness (and a Z offset if you want one), then Start probe. The tool goes down until it touches, sets Z0 at the top of the plate (or the touched surface for a 3D probe) and lifts 5 mm.
The 3D view while a job runs
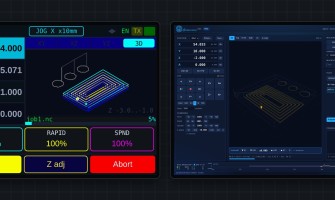
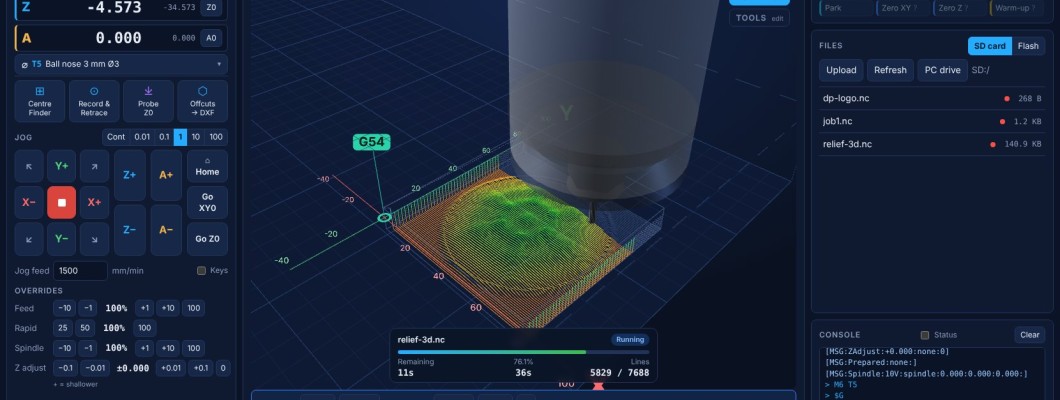
- The spindle (or the laser module) moves over the job. The finished cuts are coloured by depth, and a card shows the file, the time left, the % done and the line.
- Follow keeps the tool in view. Auto-fit keeps the whole job in view when it loads or the work zero moves. Spindle view shows the spindle body, or only the bit. Stock shows the block of material (set its size with Stock above the view).
- G-code shows the file as text under the view, following the running line.
- Machine bed and travel: when X and Y have homing and
soft_limits: truein config.yaml, and the machine is homed, the bed and the machine's travel are drawn, and a note warns when the job goes outside the travel. Otherwise the view shows a plain grid under the work. - Tool column (left of the view): the tools from the tool table. Click one to change to it (M6). A laser on its own tool number shows as T2 laser.
Part view
Part (next to the view buttons) shows the part the job makes: the toolpath carved out of the block, with the shape of the bit selected in the tool column (flat, ball nose, V-bit…). Pick the bit the file was made for. While the job runs, the part is carved as the bit goes. The Path switch draws the toolpath faintly over the part.

Run bar
Under the view: Cycle start, Pause, Stop and Probe, mist and flood, and the feed and spindle overrides as sliders (drag, or use the buttons in the Overrides panel).
Laser jobs
A file is a laser job when it uses M4, or when all its cuts are at one Z height and it uses more than two power levels (a grey-scale engraving). For a laser job:
- The 3D view shows the laser module, and the beam while it fires. With Part on you see the burn build up on the material: the darker, the more power.
- The run bar reads Laser and shows the power in % of the laser's top S in config.yaml, with the S value (for example 42% S420).
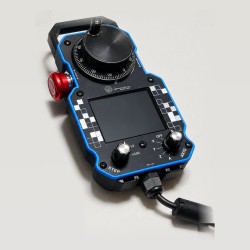
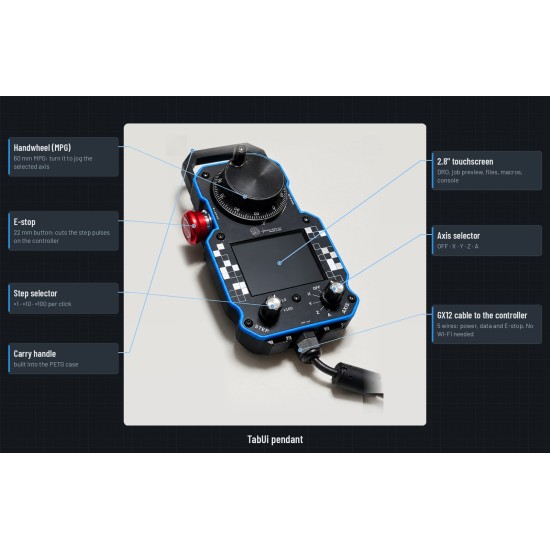
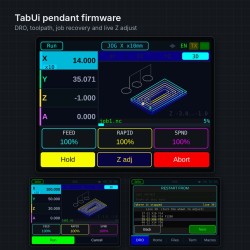
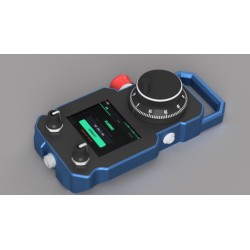
- The SmartTabUI pendant shows the burn in its PART view, and its third override box reads LASER.


A grey-scale laser engraving at 30%: the laser on T2 with its offset applied, the power in the run bar, and the burn from the top (Spindle view off).
M4 needs a Laser: spindle in config.yaml. On a machine with only a router spindle, M4 stops the job with error 20: use M3, or set up the laser as in Router and laser on one machine.
Studio
The Studio button at the top right opens dpCREATOR Studio in its own tab. If Studio is already open, it switches to that tab instead of opening another one. In Studio, the WebUI button switches back to the WebUI's tab, with the job you sent ready to run.
Updates
The footer shows the WebUI, controller and pendant builds. When a newer build is out, it turns red: update from the Flash Firmware page. What changed is in the release notes.