
12 Oct
Follow these steps once on a new board. Boards from the shop are already flashed — start at step 2.
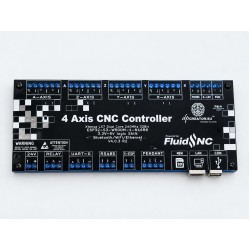
- Flash the latest firmware (blank board or big update only): Flash Firmware page → controller → Flash latest via browser. Use Chrome or Edge.
- Connect the network. Plug an Ethernet cable into the board. A fresh install starts with Ethernet and DHCP on. Find the IP in your router, or over USB with
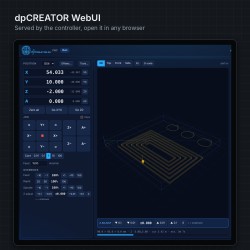
$Ethernet/Status. - Open the WebUI at
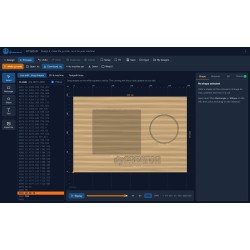
http://fluidnc.localorhttp://<board-ip>. - Set up your machine in
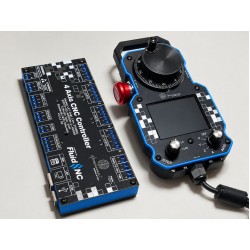
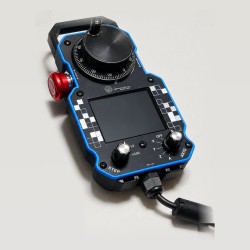
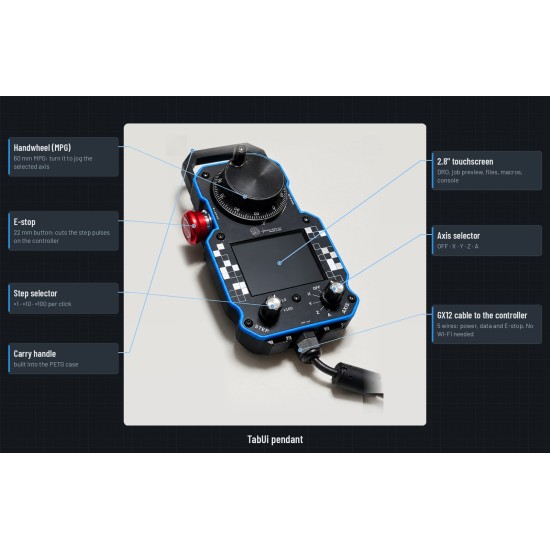
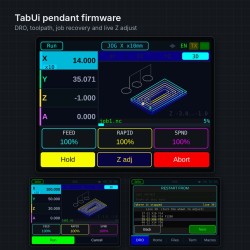
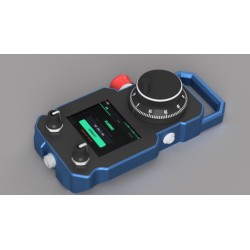
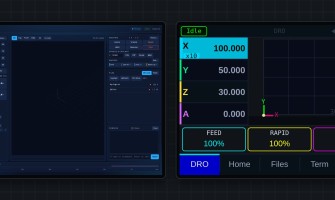
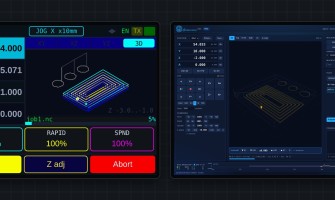
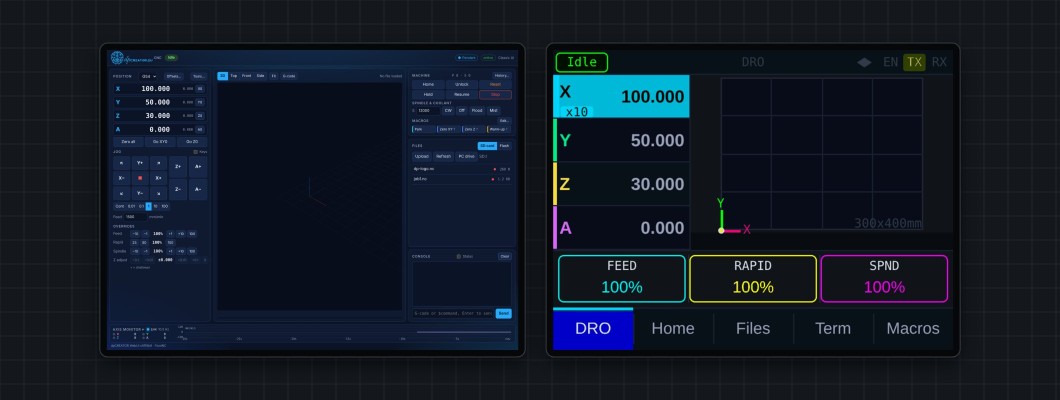
config.yaml. The firmware starts with the dpCREATOR R2/R3 example config. Set at leaststeps_per_mm,max_travel_mmand homing direction for each axis, and your spindle. Edit it in the WebUI file manager, then reboot with$bye. - Plug in the pendant (optional). The WebUI header shows a pendant badge when it is connected.
- Check motion carefully. Jog each axis a short distance and confirm the direction. Trigger each limit switch by hand before you home.
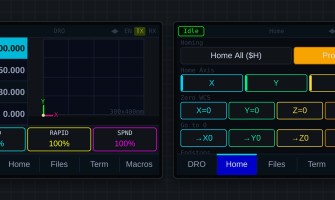
- Home with
$Hor the Home button, then set your work zero.
Tip: give the board a fixed IP (static, or a DHCP reservation on your router). The network drive and gSender need an address that doesn't change.