
14 Nov
Posted By
0 Comment(s)
3 View(s)
One of our R&D users is running a v4.0.3 board converted to ESP32-S3. Their feedback from real machine use has led to a batch of improvements across the firmware, the WebUI, Studio and the pendant. Thank you: this is exactly how we want dpCREATOR to grow.
Smoother motion (firmware + WebUI)
- S-curve motion smoothing has three settings: Off, Light and Full (
$Stepping/SCurve), and the board remembers your choice. Speed ramps now start and end gently, so there is less jerk and vibration on the machine. Corner speeds, move times and positions stay exactly the same as before. - Measured step rate (
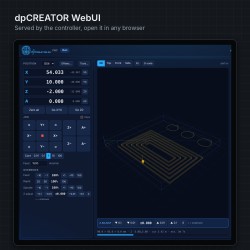
$Stepping/Stats): the board measures the step rate it can actually reach and the peak each axis needs at its max rate. The WebUI shows this after a test move. - The Speed tab in Motor tuning has a new “Motion smoothing” selector, and the speed graph now draws the S-shaped ramps.
Motors & homing tab (WebUI)
- If you have used Mach3’s Ports & Pins and Homing/Limits screens, this will feel familiar. Each axis has: reverse direction (both motors on a gantry axis), step pulse active low, enable inverted, limit switches as NC, hard limits, pull-off, travel, soft limits, homing pass/direction/position, and seek and feed speeds.
- Save & restart writes only the lines you changed into the config file. It keeps your comments and makes a
.bakbackup first. Jog buttons let you check the direction straight away.
Automations: rules that run on the controller itself (firmware + WebUI + pendant)
- Rules can follow the spindle, a job, motion or an input. They can also react to inputs, events, timers and custom M-codes (M100–M199).
- Ready-made rules for dust extraction with run-on, vacuum table (M110/M111), vacuum-lost feed hold, foot pedal, lubrication, air blast, beacon, work light and cooling pump.
- The WebUI editor works with When/Do steps, drag-to-reorder and your own I/O names. If a rule has a problem, Save shows the controller’s error right at that rule and puts the old file back, and you can undo the last save.
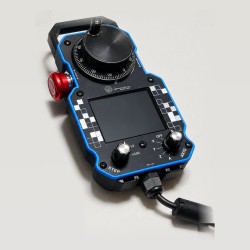
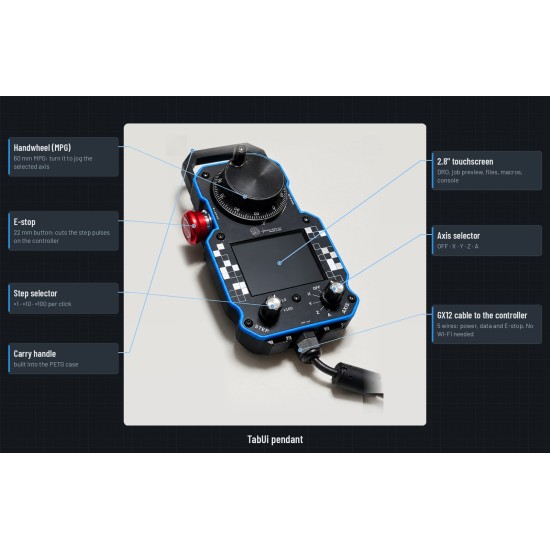
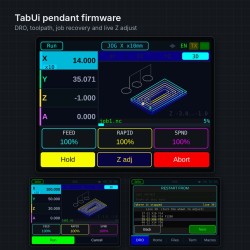
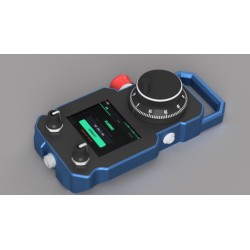
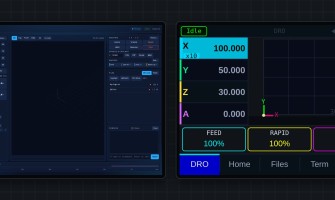
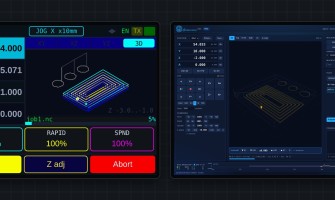
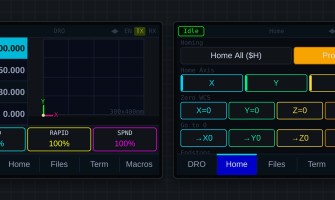
- On the pendant, the MACROS tab gets an AUTOMATIONS view with live status. You can run a rule with two taps, and warnings like “Vacuum lost” show as a red alert with two beeps.
I/O expansion board (WebUI)
- I/O names now show live, e.g. “Vacuum pump (OUT6)”, along with whether the board is online.
- You can update the expansion board’s firmware through the R3 from the WebUI.
Centre Finder → Studio
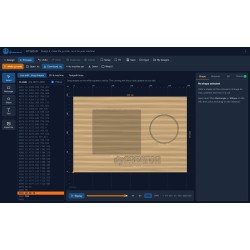
- A new Send to Studio button passes the centre you found straight into dpCREATOR Studio.
Install page: first run on the machine (dpcreator.eu/firmware)
Our R&D user set up his board on a real machine with this page. Everything he hit is fixed, and the fixes were tested on the same machine:
- Find networks: once the firmware is on the board, it lists the Wi-Fi networks it sees over USB, strongest first. Pick yours instead of typing it.
- Wrong way flips that axis and restarts the board in about 20 seconds, with the progress shown right under the axis.
- Jog checks tell you whether the board moved the axis, refused it (travel limit or alarm), or sent steps that did not reach the motor.
- Steps/mm: the current value is shown and can be edited by hand (Try it now, Save to config.yaml). Measure both ways (Jog + and Jog −): the page averages them and warns about backlash. Negative values are blocked, and a big difference between measured and commanded is flagged. The axis you picked stays selected after saving.
- Switches: each limit switch and the probe can be switched off and back on while you wire or test; the pin is kept in config.yaml.
- Axes are colour-coded throughout: X red, Y green, Z blue, A amber.
- After a reload the page picks up where you were, with a Connect over USB button.
- Setup done: save and exit makes sure the board has your latest config, saves a copy to your downloads and closes the USB connection.
Want to build and test with us? Join the R&D Club or follow the builds on the members page.