
Prefer to watch? See the Studio video tutorials: 18 short videos from the first run to a finished job.
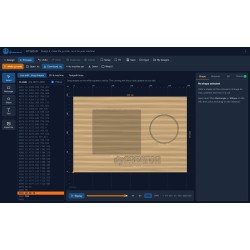
dpCREATOR Studio is a free design and CAM program that runs in your web browser. Draw or import your design, choose how each shape is cut, check the result on virtual material and make the g-code for your CNC router or laser. Nothing to install, no account needed to use it, and your designs stay on your computer.
.nc file (straight lines only, so every controller can run it). You can run it with the dpCREATOR WebUI, the stock FluidNC WebUI or any other sender. Studio is free; it is installed only from dpcreator.eu, please don't redistribute copies.
What you can do
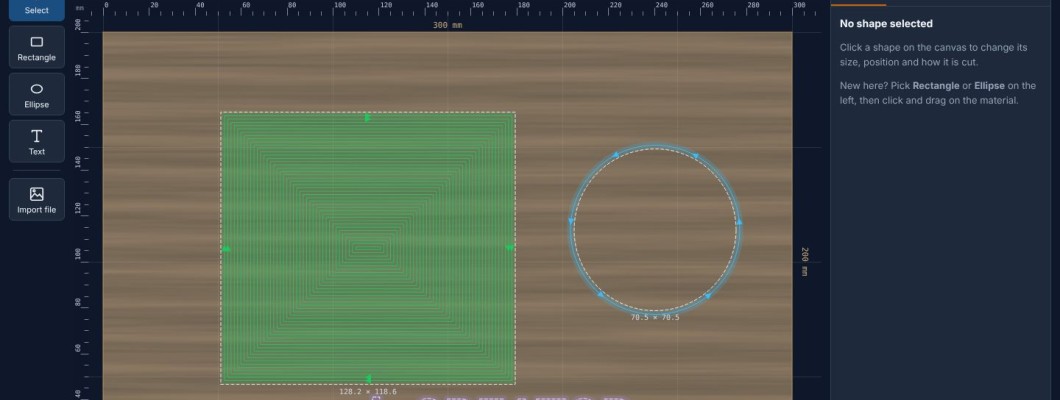
- Draw: rectangles, ellipses and text (5 fonts, turned into outlines). Move, resize, duplicate and type exact sizes and positions. Undo and redo.
- Import: SVG, DXF (lines, arcs, circles, polylines, splines, blocks, at real size), PDF (vector drawings, first page) and pictures (PNG, JPG, WebP). Pictures can be traced to outlines to cut or, with a laser, engraved dot by dot.
- Cut each shape outside, inside, on the line, as a pocket, as a surface (facing), as a V-carve, or not at all (a guide line). Set the depth per shape, the cut direction (climb or conventional) and holding tabs.
- Material and bit: pick the material (softwood, hardwood, plywood/MDF, acrylic, foam, aluminium) and the bit from the bit library (flat, ball nose, V-bits; save your own). Studio suggests feed, speed and depth per pass. These are careful starting values: try them on a scrap piece first. You can also set everything by hand.
- Shape tools: in the Shape tab, Join, Cut out and Overlap combine the selected shape with another one, and Grow and Shrink make an offset outline. They make a new shape and keep the originals. Arrange (left bar) lays out all shapes on the material without overlap, following an offcut's outline; shapes are not rotated.
- Offcut: use an offcut measured on the machine (DXF on the SD card) as the material, place the design on it and cut with the work zero already matching.
- 4th axis (beta): in the Material tab switch on Round bar and enter its diameter. Design X runs along the bar and Y runs around it; the program turns Y into the A axis. Set X0 at the left end of the bar, A0 where the bit touches the top and Z0 on the surface of the bar. The preview shows the design unrolled flat. Do a shallow cut on scrap first and check A0 and the direction of rotation.
- Laser: power, speed and passes per shape, for lines, fills or pictures (FluidNC laser mode, M4). Engrave the picture offers Dither (Floyd–Steinberg or Atkinson), Threshold and Grayscale, with brightness, contrast and invert; the dot size is the Line spacing in the Laser tab (0.1 mm is fine detail, 0.15–0.2 mm is faster and gives a much smaller file). Also: fill angle, crosshatch, burning one way or both, a run-up so the head is at speed when the beam turns on, air assist (M8/M9) and presets (save the power, speed and passes that worked and apply them with one click).
- Laser test grid and Frame: Test grid (left bar) burns labelled squares with power going up the rows and speed along the columns on scrap of your material, so you can pick the best setting. Frame (top bar) moves the head around the job's outline with the laser off, to check the position before burning.
- Check before you cut: the Check tab warns about shapes outside the material or the machine's travel, cuts deeper than the bit can reach, fast moves inside the material, pocket details too small for the bit and risky speeds.
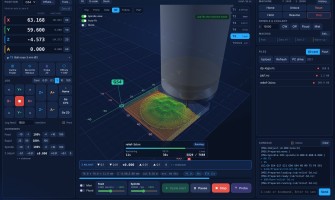
- Preview: watch the bit carve virtual material line by line, with the g-code alongside, and see the job on a 3D machine; for a laser you see the laser head, the beam and the burn building up on the material. You can still drag and resize shapes in the preview; the carving and the g-code update straight away. The machining time is estimated.


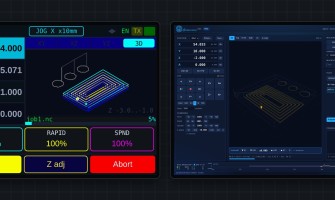
Above: the job on the 3D machine. Below: engraving a picture with the laser (dither), and the laser preview with the head, the beam and the burn.
From design to the machine
- Open dpcreator.eu/studio. On first use, Setup asks for your machine (router or laser, work area, home corner) and the material (type, size, thickness). You can change both later with the Setup button.
- Draw or import your design, then select each shape and choose how it is cut in the Shape tab.
- Choose the bit in the Bit tab and look at the Check tab.
- Press Make g-code. The preview shows what will be cut.
- Press Download .nc and upload the file to the controller's SD card with your WebUI (in the dpCREATOR WebUI: Files → Upload).
- Set the work zero at the bottom-left corner of the material's top face, as Studio shows it, and run the job.
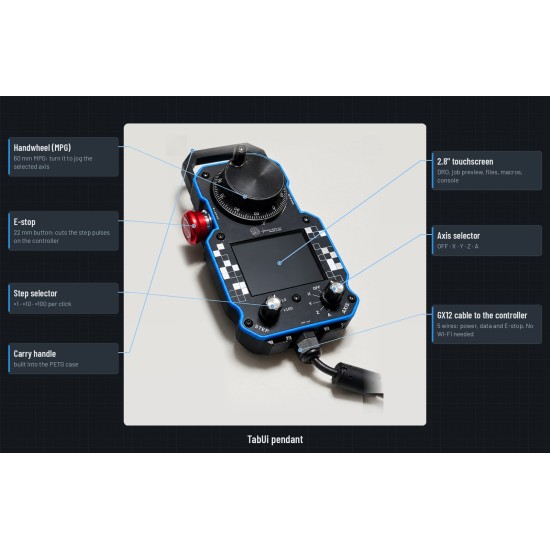
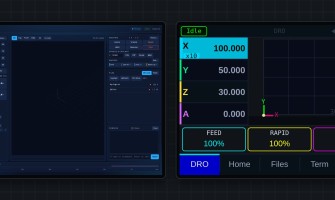
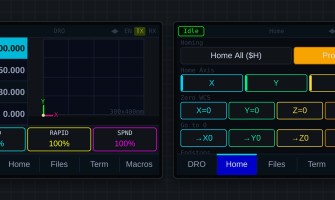
With Studio installed on your controller, step 5 becomes one click: Send puts the file on the SD card and prepares it, so the dpCREATOR WebUI and the pendant show it ready to run – you only press Run.
Install it as an app
In Chrome or Edge, click the install icon in the address bar on dpcreator.eu/studio. Studio then opens in its own window, works without internet, and updates itself when a new version is out.
Your designs
- Studio saves your work automatically in the browser. My designs lists every design saved there.
- Save downloads the design as a project file (.json) and Open loads one: use it for backups or to move a design to another computer or browser.
- Designs are kept per browser and per address: the copy on dpcreator.eu and the copy on your controller each have their own list. Use a project file to move a design between them.
Sending from dpcreator.eu
Browsers don't let a secure (https) page send files to a device on your network over plain http, so on dpcreator.eu the Send button is normally blocked. Use Download .nc, or install Studio on the controller, where Send works.
Questions
Use the Support page (log in first). Tell us the Studio build (the i button at the top right) and attach the project file if a design gives the wrong result.