
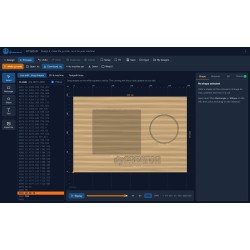
Prefer to watch? See the pendant video tutorials: 10 short videos from installing the pendant to recovering a job.
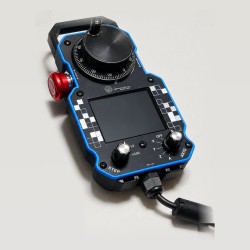
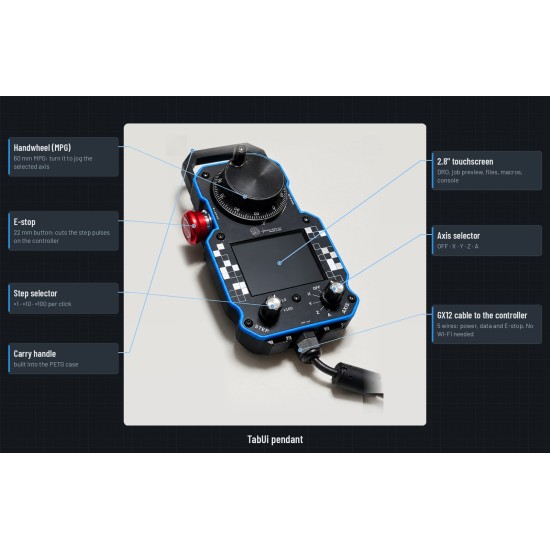
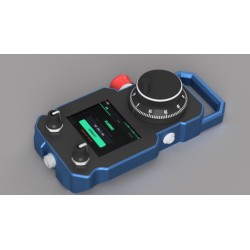
SmartTabUI is the firmware of the dpCREATOR pendant: a 2.8" touch screen, a handwheel with AXIS and STEP selectors, an ENABLE button and an E-stop, on one cable to the controller. This page explains the screens, jogging and the pendant's settings. Running jobs, recovery, Z adjust and rewind, and Measure and Record have their own articles in this section.
Start-up
- The boot screen shows the dpCREATOR logo, the build number and a 5-second bar. Hold ENABLE while the bar runs to open Settings.
- The pendant then connects to the controller. Until the controller answers, No connection is shown: check the cable (the Term tab shows what arrives).
- Restart the pendant: press the E-stop and hold ENABLE for 3 seconds.
The screen
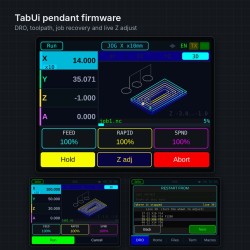
- Header: machine state (Idle, Cycle, Hold, Jog, Alarm, Homing), STP while the E-stop is pressed, the jog in progress or the job progress, and the EN / TX / RX lights.
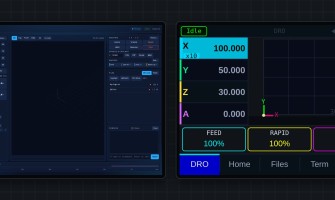
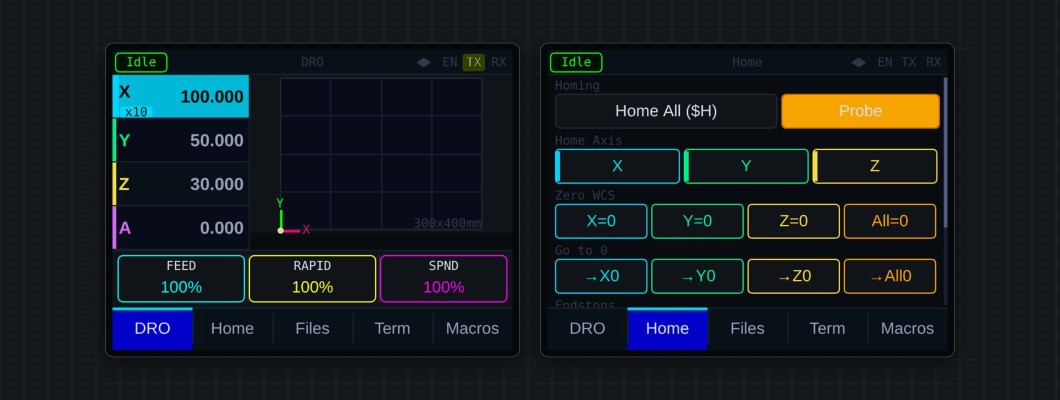
- DRO (left): the work position of each axis. The axis chosen with the AXIS selector is highlighted in its colour, with its step (x1 / x10 / x100) underneath.
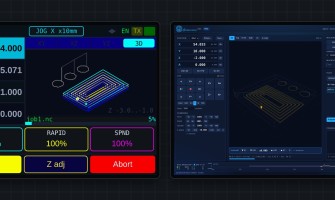
- View (right): the job's toolpath, with XY / XZ / YZ / 3D / PART tabs (see PART view below). While a job runs, the part already cut is drawn in cyan and the tool is marked. With no job, the machine's work area is shown.
- FEED / RAPID / SPND: tap one, then turn the wheel to change that override (fine steps on x1, coarse on x10 and x100). Tap it again, or release ENABLE, to go back to jogging. SPND reads LASER while the laser is the selected spindle or a laser job is loaded.
- Bottom bar: the tabs DRO, HOME, FILES, TERM and MACROS. While a job runs it becomes Hold / Resume · Z adj · Abort.


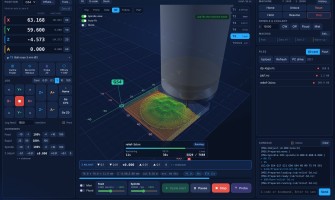
Left: the DRO screen at rest. Right: a 3D relief running, the cut so far in cyan, the progress under the view.
Jogging
- Choose the axis with the AXIS selector (OFF = no jogging).
- Choose the step: x1 = 0.01 mm, x10 = 0.1 mm, x100 = 1 mm per click.
- Turn the wheel. Faster turning moves faster; letting go stops at once.
Whether ENABLE must be held depends on the P6 BTN setting (below). When ENABLE is needed and not held, a thin red frame shows round the screen; it disappears while you hold ENABLE.
PART view
PART shows the part the job makes: the toolpath carved out of a block with a ball-nose shaped bit, lit and coloured by depth. It is carved live while the job runs.
- With the AXIS selector on OFF, turn the handwheel to rotate the block.
- TOP (in the view) switches between the tilted 3D block and a shaded view from above.
- Laser jobs show as a burn on plywood instead: the darker, the more power. This needs the controller firmware from build 3bbf865d on, which sends the laser power with the preview.
- The detail follows the preview the controller sends: on a large file fine detail looks softer than in the WebUI.


Top: a 3D relief before running, tilted and from the top. Bottom: carved live at 63%, and a laser engraving burning, with LASER in the third box.
The tabs
| DRO | Positions, overrides and the toolpath view. |
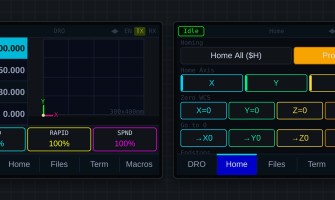
| HOME | Home All (Z first, then X and Y) and single axes; Probe (Z surface, X/Y edge, corner, hole, boss, tool length); work offset G54–G59; Zero X / Y / Z / all; Go to 0 (Z goes up first); Unlock and Park; endstop states. |
| FILES | The SD card: open folders, Text to read a file, View to show its toolpath, Prepare to load it for running (see Running a job). |
| TERM | Everything the controller says (green), your commands (cyan), Soft Reset and quick commands. |
| MACROS | Spindle CW / CCW / Stop and coolant at the top, then the macros marked "on the pendant" in the WebUI. Each button shows the macro's G-code; "ask first" macros need two taps. |


The HOME and FILES tabs.
Probing
- HOME → Probe, pick a cycle. The picture shows where to put the tool, e.g. tool beside the edge, below the top.
- Choose the side or corner. The wheel jogs on this page, so you can position the tool here.
- Start: hold ENABLE and tap twice. The probe touches twice (fast, then slow), sets the work zero in the chosen WCS and goes back to where it started.
The probe settings (plate thickness, tool diameter, distances, feeds, clearances, WCS, tool setter) are in the same menu.
Settings
Hold ENABLE during the boot bar. Turn the wheel to choose a row, tap to change it; Save & Boot stores the settings and restarts.
| THEME | Dark, Neutral or Light. |
| MACHINE | CNC, knife / plotter or laser. |
| P6 BTN | What ENABLE does: Gate – hold it to jog and to use the screen (safest); Jog – hold it to jog, the screen works without it; Touch and Off – not needed; Macro – a press runs the macro chosen in P6 MACRO. |
| DRO AXES | XYZ, XYZA, XY or XYYZ (two Y motors). |
| BRIGHT / VOL | Screen brightness, beeper volume (0 = mute; the E-stop siren is always loud). |
| MAINT | Maintenance reminder after this many hours of jobs; Reset Maint after a service. |
| AREA, HOME | Work area and home corner, read from the controller's config.yaml. |
| LICENCE | Registered or not, and this pendant's chip ID (needed for support). |
Inputs (bottom of Settings) shows every switch, the wheel, the E-stop and touches live – the first place to look when a switch seems not to work. UART shows the controller link. Hold the E-stop for 2 seconds to leave them.
Sounds
- Short click: a screen button was tapped. Rising beep: ENABLE pressed, lower beep: released.
- One beep when the AXIS selector settles (higher on an axis, lower on OFF), a short high beep when the STEP selector changes.
- High beep: a point was taken (ENABLE double-tap).
- Two-tone siren: 4 times on an alarm, 3 times at full volume on the E-stop.
No beep at all on ENABLE means the switch block is not connected – check Settings → Inputs.