
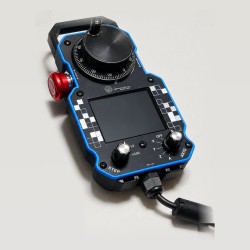
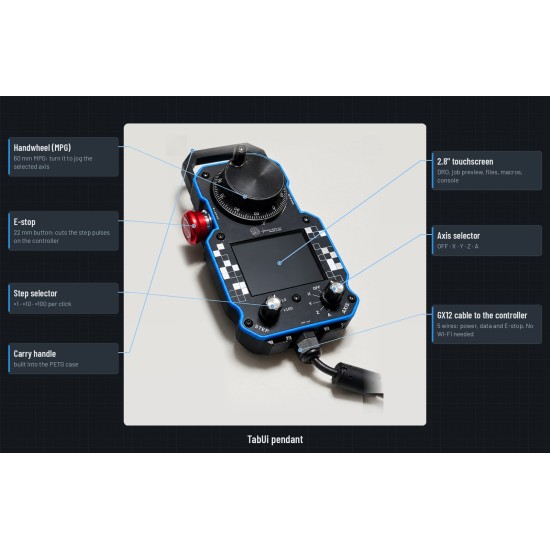
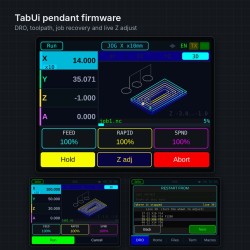
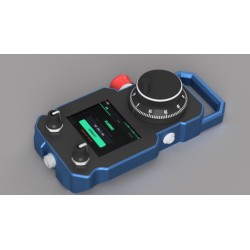
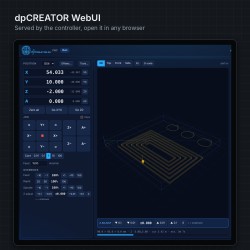
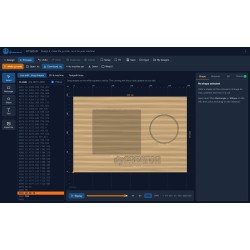
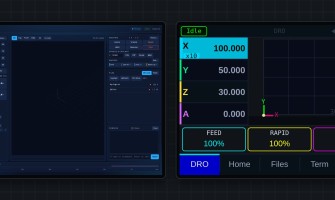
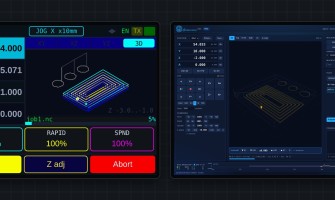
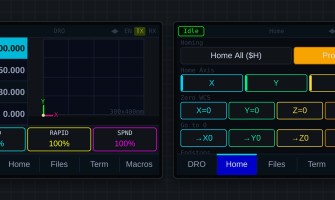
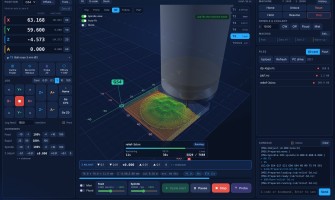
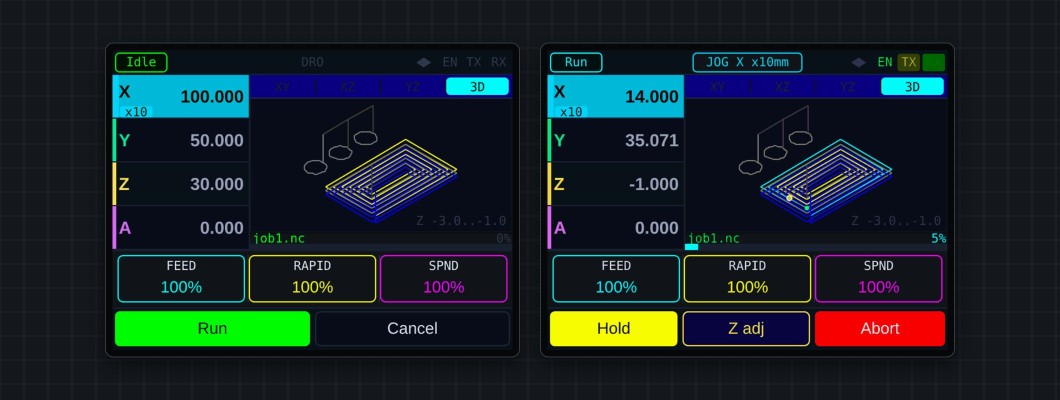
The pendant and the WebUI share one job: whatever you prepare on one shows on the other.

Prepare → Run
- Prepare a file from the SD card (WebUI file list or the pendant's Files tab). The pendant switches to its DRO screen and draws the toolpath; the WebUI 3D view shows the same file.
- Run from either side: ▶ Run in the WebUI, or Run on the pendant (tap twice). From the pendant the machine first raises Z, moves to X0 Y0, then runs the file.
- Cancel from either side clears it on both.
Toolpath previews (.viz files) are built automatically when you copy a file to the SD card. A green dot in the WebUI file list means the preview is ready.


Screens on the pendant
| DRO | Positions, feed override, toolpath view |
| Home | Homing, limit switch status, work zero, go to zero, probe |
| Files | SD card browser, Prepare / Run |
| Term | Console with command shortcuts |
| Macros | Macros marked "on the pendant" in the WebUI |
E-stop
Pressing the E-stop does two things: the controller cuts the step pulses in hardware through the E-STOP line in the pendant cable, so the motors stop even if the firmware hangs, and FluidNC goes to Alarm; the pendant beeps. After you release it, the pendant offers the next steps — unlock, rehome, or recover the interrupted job (see Job recovery).
Spindle and mains: the pendant E-stop stops the motion. A machine that can injure someone also needs an E-stop circuit that switches off the spindle and mains power.
