
12 Oct
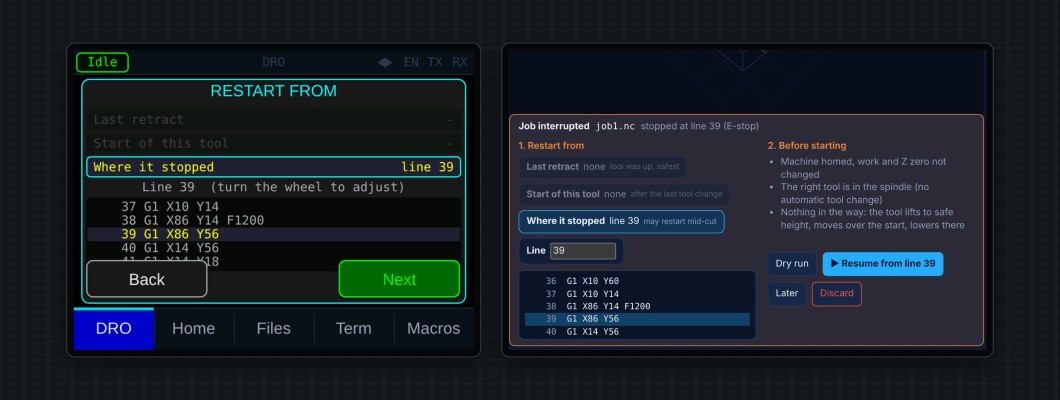
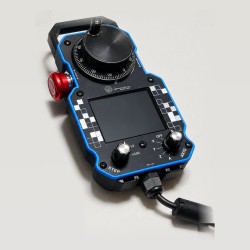
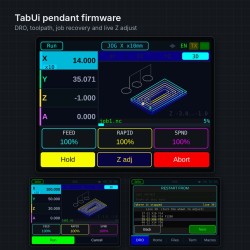
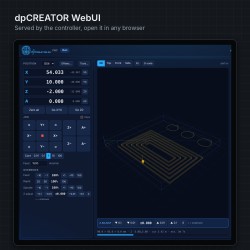
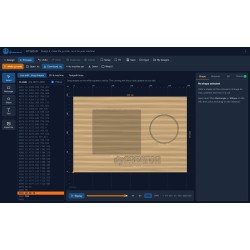
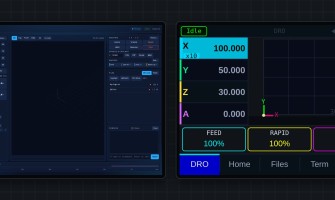
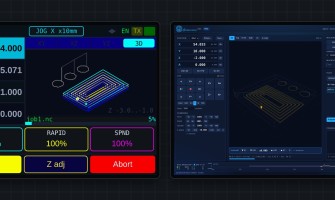
The controller writes down the line every SD-card job is at, to flash, every few seconds and immediately on Hold or a stop. A power cut doesn't lose it. Any job that doesn't reach the end of the file is kept as interrupted, and the WebUI and pendant show the same three steps.
1. Job interrupted
Shows the file, the line it stopped at and why. Choose Resume…, Later or Discard.

2. Restart from
The board scans the file and suggests:
- Last retract — just after the last move that lifted Z clear of the part. The safest choice; recuts a little.
- Start of this tool — just after the last tool change.
- Where it stopped — may restart in the middle of a cut.
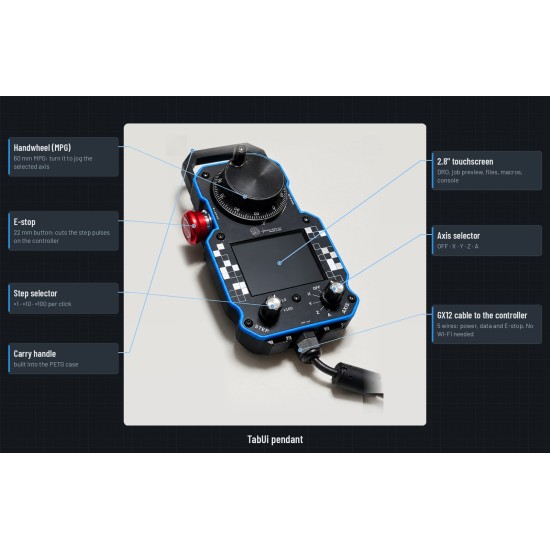
- Any line — type it in the WebUI, or turn the handwheel on the pendant.
The G-code around your choice is shown so you can check it.

3. Before starting
- Home the machine. Keep the same work zero and Z zero.
- Put the right tool in — there is no automatic tool change here.
- Dry run moves to safe height and over the restart point only.
- Resume: the board lifts Z, sets the coordinate system and units, moves over the restart point, starts the spindle and coolant, feeds down from 3 mm above, and continues the file.
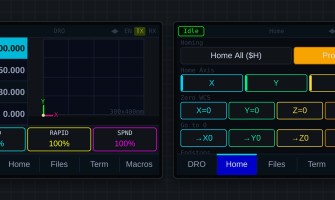
The machine must be Idle and homed. After an E-stop it is in Alarm, so the recovery screens have their own Unlock and Home buttons.
Needs matching firmware: recovery is kept by the controller. With older controller firmware the pendant shows no recovery at all — flash both.

