
12 Oct
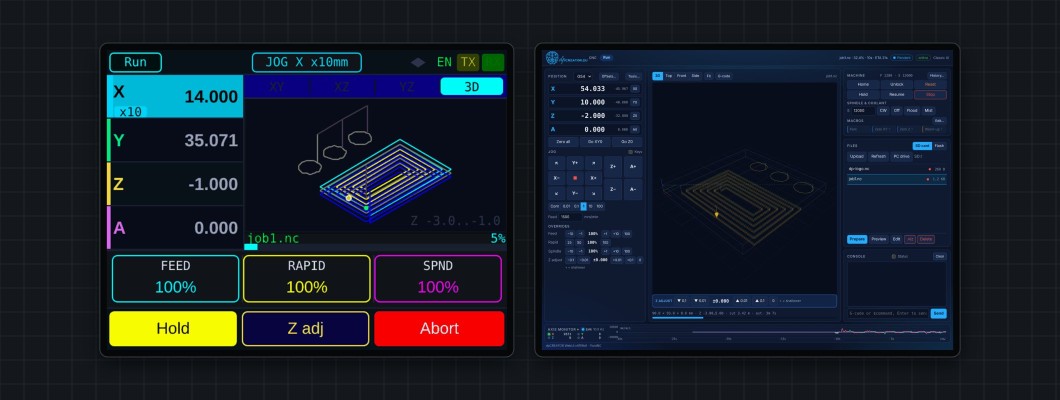
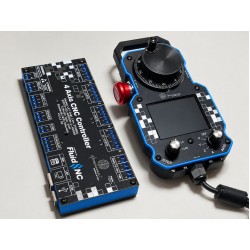
A dpCREATOR CNC setup has three parts: the controller board, the SmartTabUI pendant and the firmware on both. This page shows how they connect and where to read next.

The parts
| Part | What it does | Connects to |
|---|---|---|
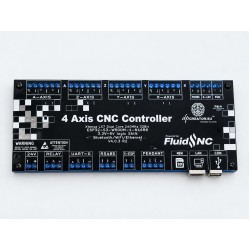
| dpCREATOR R2/R3 controller | Runs FluidNC 4.1.1 on an ESP32-S3 (16 MB flash, 8 MB PSRAM). Drives up to 4 axes (X, Y, Z, A) with step/dir outputs, reads limit switches and probe, controls the spindle. | PC over Ethernet (W5500), Wi-Fi or USB · pendant over UART1 · VFD over RS485 |
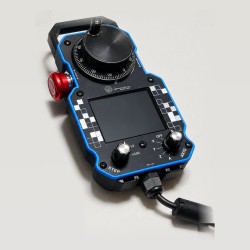
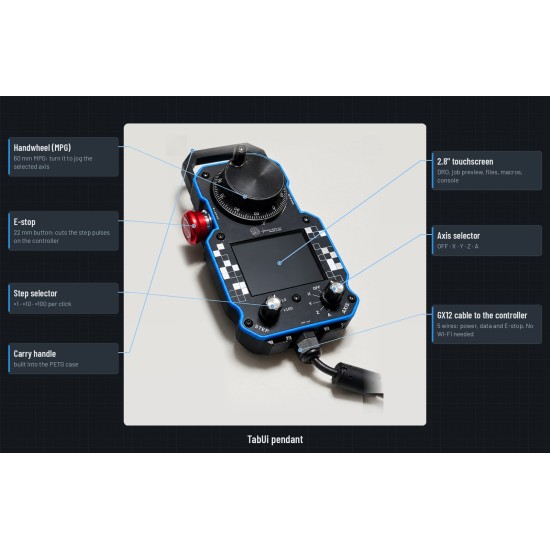
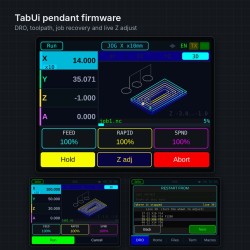
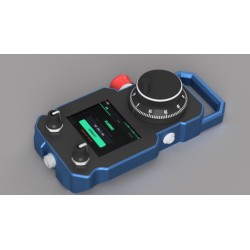
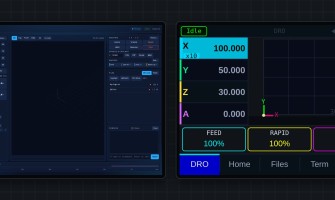
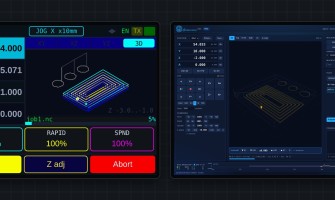
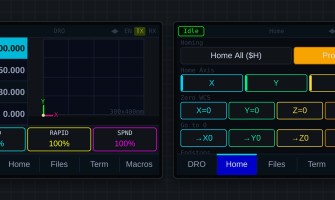
| SmartTabUI pendant | Touchscreen with handwheel (MPG) and E-stop at the machine: jog, zero, run jobs, recover interrupted jobs, adjust Z while cutting. | Controller UART1, wired, 1 Mbaud |
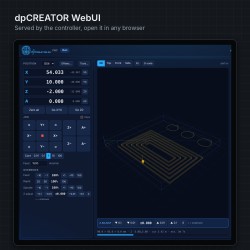
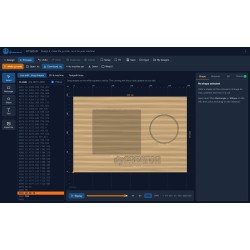
| dpCREATOR WebUI | Runs on the board, installed from the Flash Firmware page (included with the R3): 3D toolpath view, DRO, jog, files, macros, job history, console, Centre Finder, Record & Retrace and Offcuts → DXF. The free firmware also has the stock FluidNC page. | Any browser on your network: http://fluidnc.local or the board's IP |


How a job flows
- Copy G-code to the board's SD card (WebUI upload or the SD card network drive).
- The board builds a
.viztoolpath preview for the pendant automatically. - Prepare the file in the WebUI or on the pendant — both show the same part.
- Run from either one. Hold, live Z adjust, rewind and Stop work from both.
- If the job is interrupted (E-stop, alarm, power loss), the board offers to restart it from a safe line.
Read next
- Getting Started → Quick start: first power-up
- Firmware → Flashing firmware from your browser
- dpCREATOR Controller → Ethernet (W5500) setup
- dpCREATOR WebUI: position, 3D view, Part view and laser