
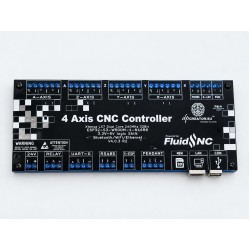
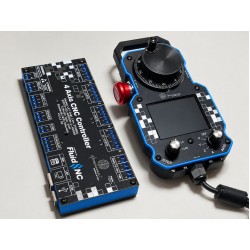
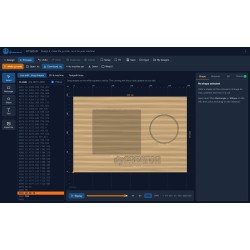
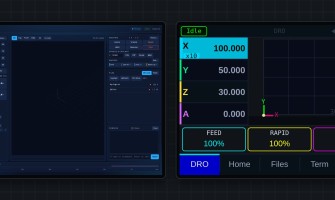
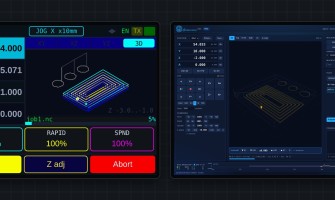
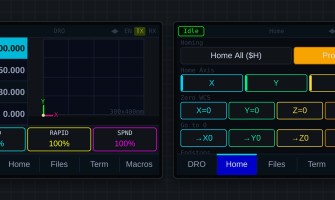
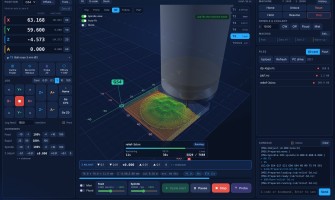
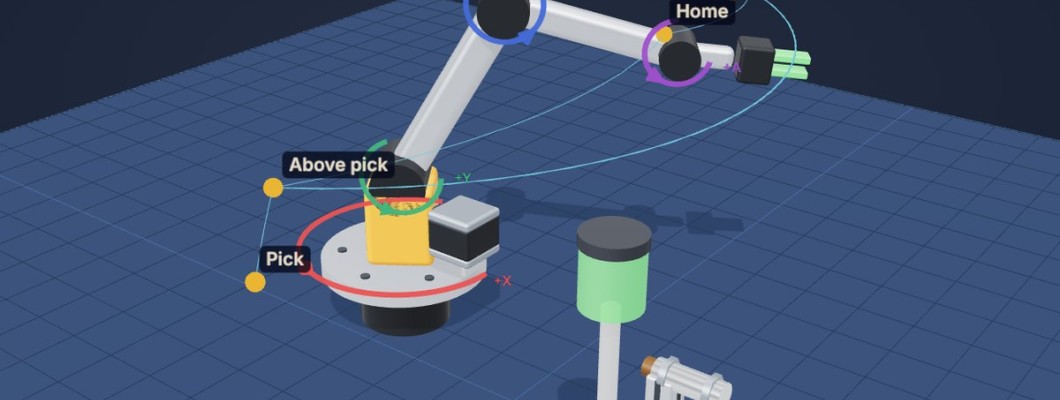
dpCREATOR Motion helps you build your own machine and make it work, even if it is your first. A robot arm, a conveyor, a rotary indexer, a pick-and-place gantry, a camera slider, a test rig or something nobody has built yet: you add the motors, sensors and outputs as you wire them, test each one, then teach the machine its positions and run them on a FluidNC controller. Motion puts every axis, input, relay and output of your controller to work. You don't need to know G-code or FluidNC's config file: Motion writes both.

How it works
Motion follows the way a machine is really built: one motor or sensor at a time. Add a part, test it, and only then add the next one. When the machine works, teach it its movements and run them. The three stages are always across the top of the screen:
- Build the machine: add each motor, sensor and output, and test it.
- Teach movements: move the machine to each stop, save it, add waits and switches.
- Run it: in the simulator, or on the machine from the controller's own memory.
Simple (the default) shows only what a beginner needs. All features adds the parts library, the 2D view, the console, the timeline, the full step list, the G-code and the config.
Start: what are you building?

The first screen asks which controller you have (dpCREATOR R3 or Another FluidNC board) and what kind of machine you are building: a gantry, a linear slide, a conveyor, a rotary indexer, a robot arm or something else. The kind only decides where Motion puts each part in 3D (a gantry's X rides on Y, Z on X; an arm's joints stack). It never limits what you can add.
New to Motion? New here? Try it first is a 2-minute walkthrough in the simulator, no board needed. Or open a finished example loads a complete machine with its movements: robot arm, conveyor with pusher, rotary indexer, XY pick and place, camera slider, or a servo arm with four hobby servos.
Stage 1: build the machine

The Build it step by step card lists the parts your kind of machine usually has, with + Add next to each, plus + Motor, + Sensor / switch and + Output / tool for anything else. In All features the parts library on the left has every part (linear axis, turntable, arm joint, hobby servo, conveyor, gripper, vacuum cup, spindle, custom tools, endstops, sensors, signal lights, valves). Drag a part onto the 3D view and it snaps onto a carriage, a profile, a table or the end of an arm joint, and moves with it.

Adding a motor:
- Name it (Y: front – back).
- Choose how it moves: Straight (mm), Turning (degrees), Conveyor belt (never stops, counts mm of belt) or Hobby servo (3 wires, 0–180°).
- Plugged into: on the R3 these are the X, Y, Z and A axis terminals. A hobby servo can use any free STEP 5V or DIR 5V terminal. On another board you type the STEP and DIR pins and Motion checks them as you type.
- How far it can go.
- The wiring picture shows which wire goes where. Press Add.
Sensors and switches: a sensor (sees a part or a position), a button (start, next, OK) or a limit / home switch on a rail. With the board connected, Find it picks the input that changes while you trigger the sensor. A limit switch also sets up homing for that axis.
Outputs and tools: gripper, vacuum cup, valve or relay, a light, a spindle, or a custom tool such as a stapler or glue gun (on while working, or one shot per step).
Only what your controller can drive
Motion reads the controller's config.yaml. A part that needs something the config doesn't have (a motor axis, a free input or output, a Modbus module on RS485) is greyed out; click it to see why and Add to config the lines that provide it. On the R3 that includes the relay, the 0–10 V and PWM outputs, spare LIMIT inputs used as sensors, and a Modbus I/O module on RS485.
Motion edits its own copy of the config, marks every changed line and checks it for pins used twice. Apply to board uploads it as motion-config.yaml and restarts the controller; your old config.yaml stays on the board, so going back is one command.


The Board map shows every terminal of the R3 and what your machine uses it for; connected, the inputs and outputs light up live. On another board it is a list of the config's pins.
Test every part before the next
After Add, Motion puts the part in the 3D machine and opens its test:
- Motor: move it −10 / +10. Did + go the right way? No, flip it inverts the direction. Calibrate: move 100, measure the real distance, type it, and Motion corrects steps per mm.
- Sensor or button: trigger it and watch the dot light.
- Limit switch: home the axis and watch it stop at the switch.
- Output: On / Off: it should click, light or move.
Connected, the test first offers Send and restart so the board gets the new config. When it works press It works: Motion remembers that config as the last working one.

Not working? on every part first checks what Motion can see itself: is the board connected, in alarm, is the new config sent, is the part in the config, is a limit switch pressed, has the config changed since it last worked (with Go back to the last working config). Then it asks what happens (doesn't move, wrong way, wrong distance, sensor never or always on…) and ends with a fix: a one-click config change, or what to check on the machine.
Stage 2: teach movements

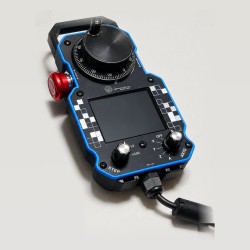
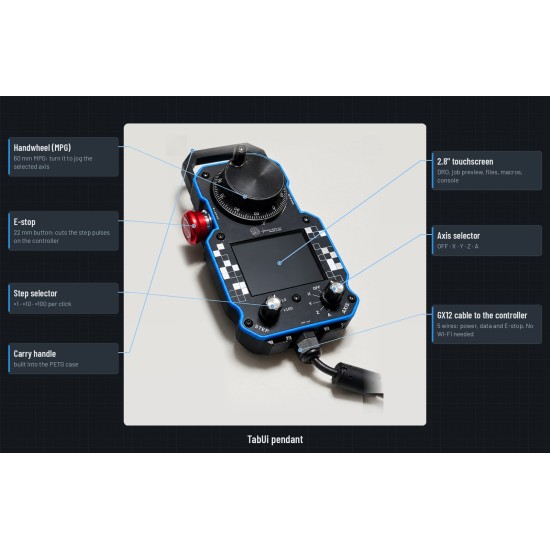
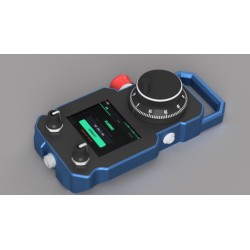
- Move the machine where it should go: the jog bar under the 3D view, the arrow keys, dragging in 3D, or the pendant's handwheel.
- Press + Position here. A Go to step is added.
- Move to the next spot and repeat. Add + Wait, or switch a tool from the jog bar, in between.
Or press Record and work the machine by hand: Motion writes a step before every output you switch and every wait you add. Each step card shows its numbers (where it goes, slow / normal / fast or a time in seconds), with Go there and Update to here to touch up a position. Drag cards to reorder them.
More kinds of steps: move a bit, wait, switch an output (on, off or one pulse), wait for a sensor (with a timeout), run until a sensor (a belt until the part arrives), repeat (n times or until stopped), if a sensor…, pause for the operator, show a message, follow a taught path, and wait for or check a measured value (Modbus or a board ADC). A move takes a speed or a time (“move there in 1.2 s”); all its axes arrive together.
A machine can have several sequences (Pick and place, Park…), each its own program. Play runs the sequence in the simulator; Step by step stops before every step. In All features, Time shows the timeline: a bar per step, a line per axis, a row per output and the cycle time.
Stage 3: run it

Pick the sequence, then Simulation or Machine. On the machine, Motion uploads the program to the controller's SD card (or its flash when there is no card) and starts it there, so the program runs on the controller, not in the browser: closing the page doesn't stop it. While it runs:
- the running step is highlighted and named;
- Pause, Resume, Stop;
- the speed slider (10–200 %) changes every move live;
- the log lists what happened.
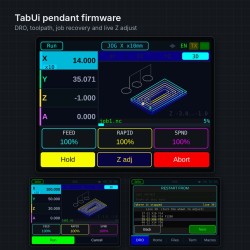
Send to machine copies every sequence to the controller with its step names. The SmartTabUI pendant can then list them and start any of them on its own, without the computer.
Examples


- Conveyor: run the belt until the part sensor sees a part, push it off, wait until it is gone, repeat forever.
- XY pick and place: X, Y and a lift with a vacuum cup, from a tray to a box.
- Rotary indexer: wait for the operator's button, then turn 45° per station with a clamp.
- Robot arm: base, shoulder, elbow, wrist and gripper, picking a part five times.
- Camera slider and servo arm (four hobby servos on the R3's STEP outputs).
On the dpCREATOR R3
- Each axis terminal block (STEP 5V, DIR 5V, GND, LIMIT, LIMIT COM) drives an external stepper driver. Spare axis terminals can drive hobby servos or work as 5 V signal outputs.
- LIMIT inputs are isolated: switches and NPN sensors connect directly; PNP sensors need a converter.
- The relay, 0–10 V and PWM outputs, and a Modbus I/O module on RS485, are offered when the config has them.
- With the dpCREATOR firmware, Motion shows the inputs and outputs live, waits for sensors faster, and gives the pendant the step names.
On other FluidNC boards
Motion works on any board with FluidNC 3.8 or newer. It doesn't know another board's terminals, so you type the pins and Motion checks each one (format, already used, flash and input-only pins on a classic ESP32). Sequences run the same way. Live user inputs and outputs need the dpCREATOR firmware; stock FluidNC shows the limit switches and the probe.
Limits (beta)
- One program runs at a time and its steps run one after another (a belt can't keep running while an arm moves).
- Arms are taught joint by joint: no straight-line tool moves.
- The simulator has no acceleration; real moves take a little longer.
- Up to 6 axes, 8 inputs and 8 outputs (FluidNC's limits); a Modbus I/O module adds more on the R3.
- English only for now.