
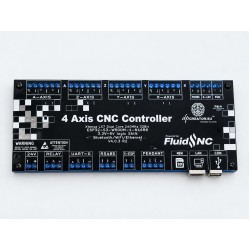
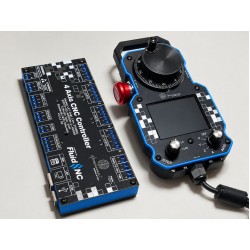
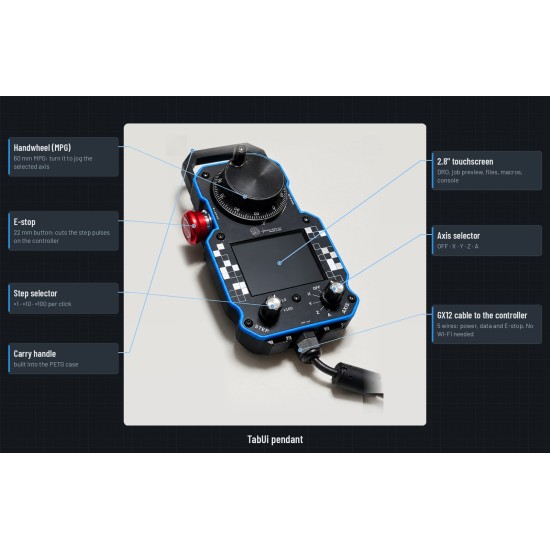
A fresh firmware install already starts with Ethernet on and DHCP: plug in the cable and find the IP. Use this page to change to a fixed IP, or to switch back from Wi-Fi.
1. config.yaml must have the Ethernet section
spi:
  miso_pin: gpio.13
  mosi_pin: gpio.11
  sck_pin: gpio.12

ethernet:
  cs_pin: gpio.14
  int_pin: gpio.9        # NO_PIN if INT is not wired
  rst_pin: NO_PIN
  phy_type: w5500
  phy_addr: 1
  frequency_hz: 8000000  # safe on a bus shared with the SD card
Important: if int_pin is set but INT is not actually connected, the link comes up but no packets arrive (DHCP fails, ping times out). Set int_pin: NO_PIN in that case.
Without an ethernet: section the board falls back to Wi-Fi so it stays reachable — your saved network, or its own FluidNC access point at http://192.168.0.1.
2. Choose DHCP or a fixed IP
Send these over USB (serial console), one line at a time.
Automatic (DHCP):
$network/type=Ethernet
$Ethernet/IPMode=DHCP
$bye
Fixed IP (recommended — use a free address in your own network):
$network/type=Ethernet
$Ethernet/IPMode=Static
$Ethernet/IP=192.168.10.50
$Ethernet/Netmask=255.255.255.0
$Ethernet/Gateway=192.168.10.1
$bye
Wi-Fi is off after this. To go back: $network/type=WiFi then $bye over USB.
3. Check it
After the reboot, $Ethernet/Status or $Startup/Show should report Ethernet link up and Ethernet IP is …. Then ping the IP from your PC and open http://<ip> or http://fluidnc.local.
4. gSender over Ethernet
- In gSender open Config → Ethernet.
- Enter the board's IP and port
23(or your$Telnet/Port), click Apply Settings. - In the connection menu choose the Ethernet entry, not a COM port.
Do not use gSender's Remote Mode — that is for the PC's own address and gives "Remote mode has been disabled".
Useful commands
$Ethernet/Status | Link, IP, mask, gateway, MAC |
$Ethernet/Init | Start the W5500 by hand (test) |
$network/type | WiFi or Ethernet |
$Telnet/Port | Port gSender connects to (default 23) |